THE UMBRELLA PROJECT
THE UMBRELLA PROJECT
Important note: These umbrellas are not bulletproof and are not intended to stop live ammunition. They are designed to offer an added layer of protection and shielding, not absolute safety.
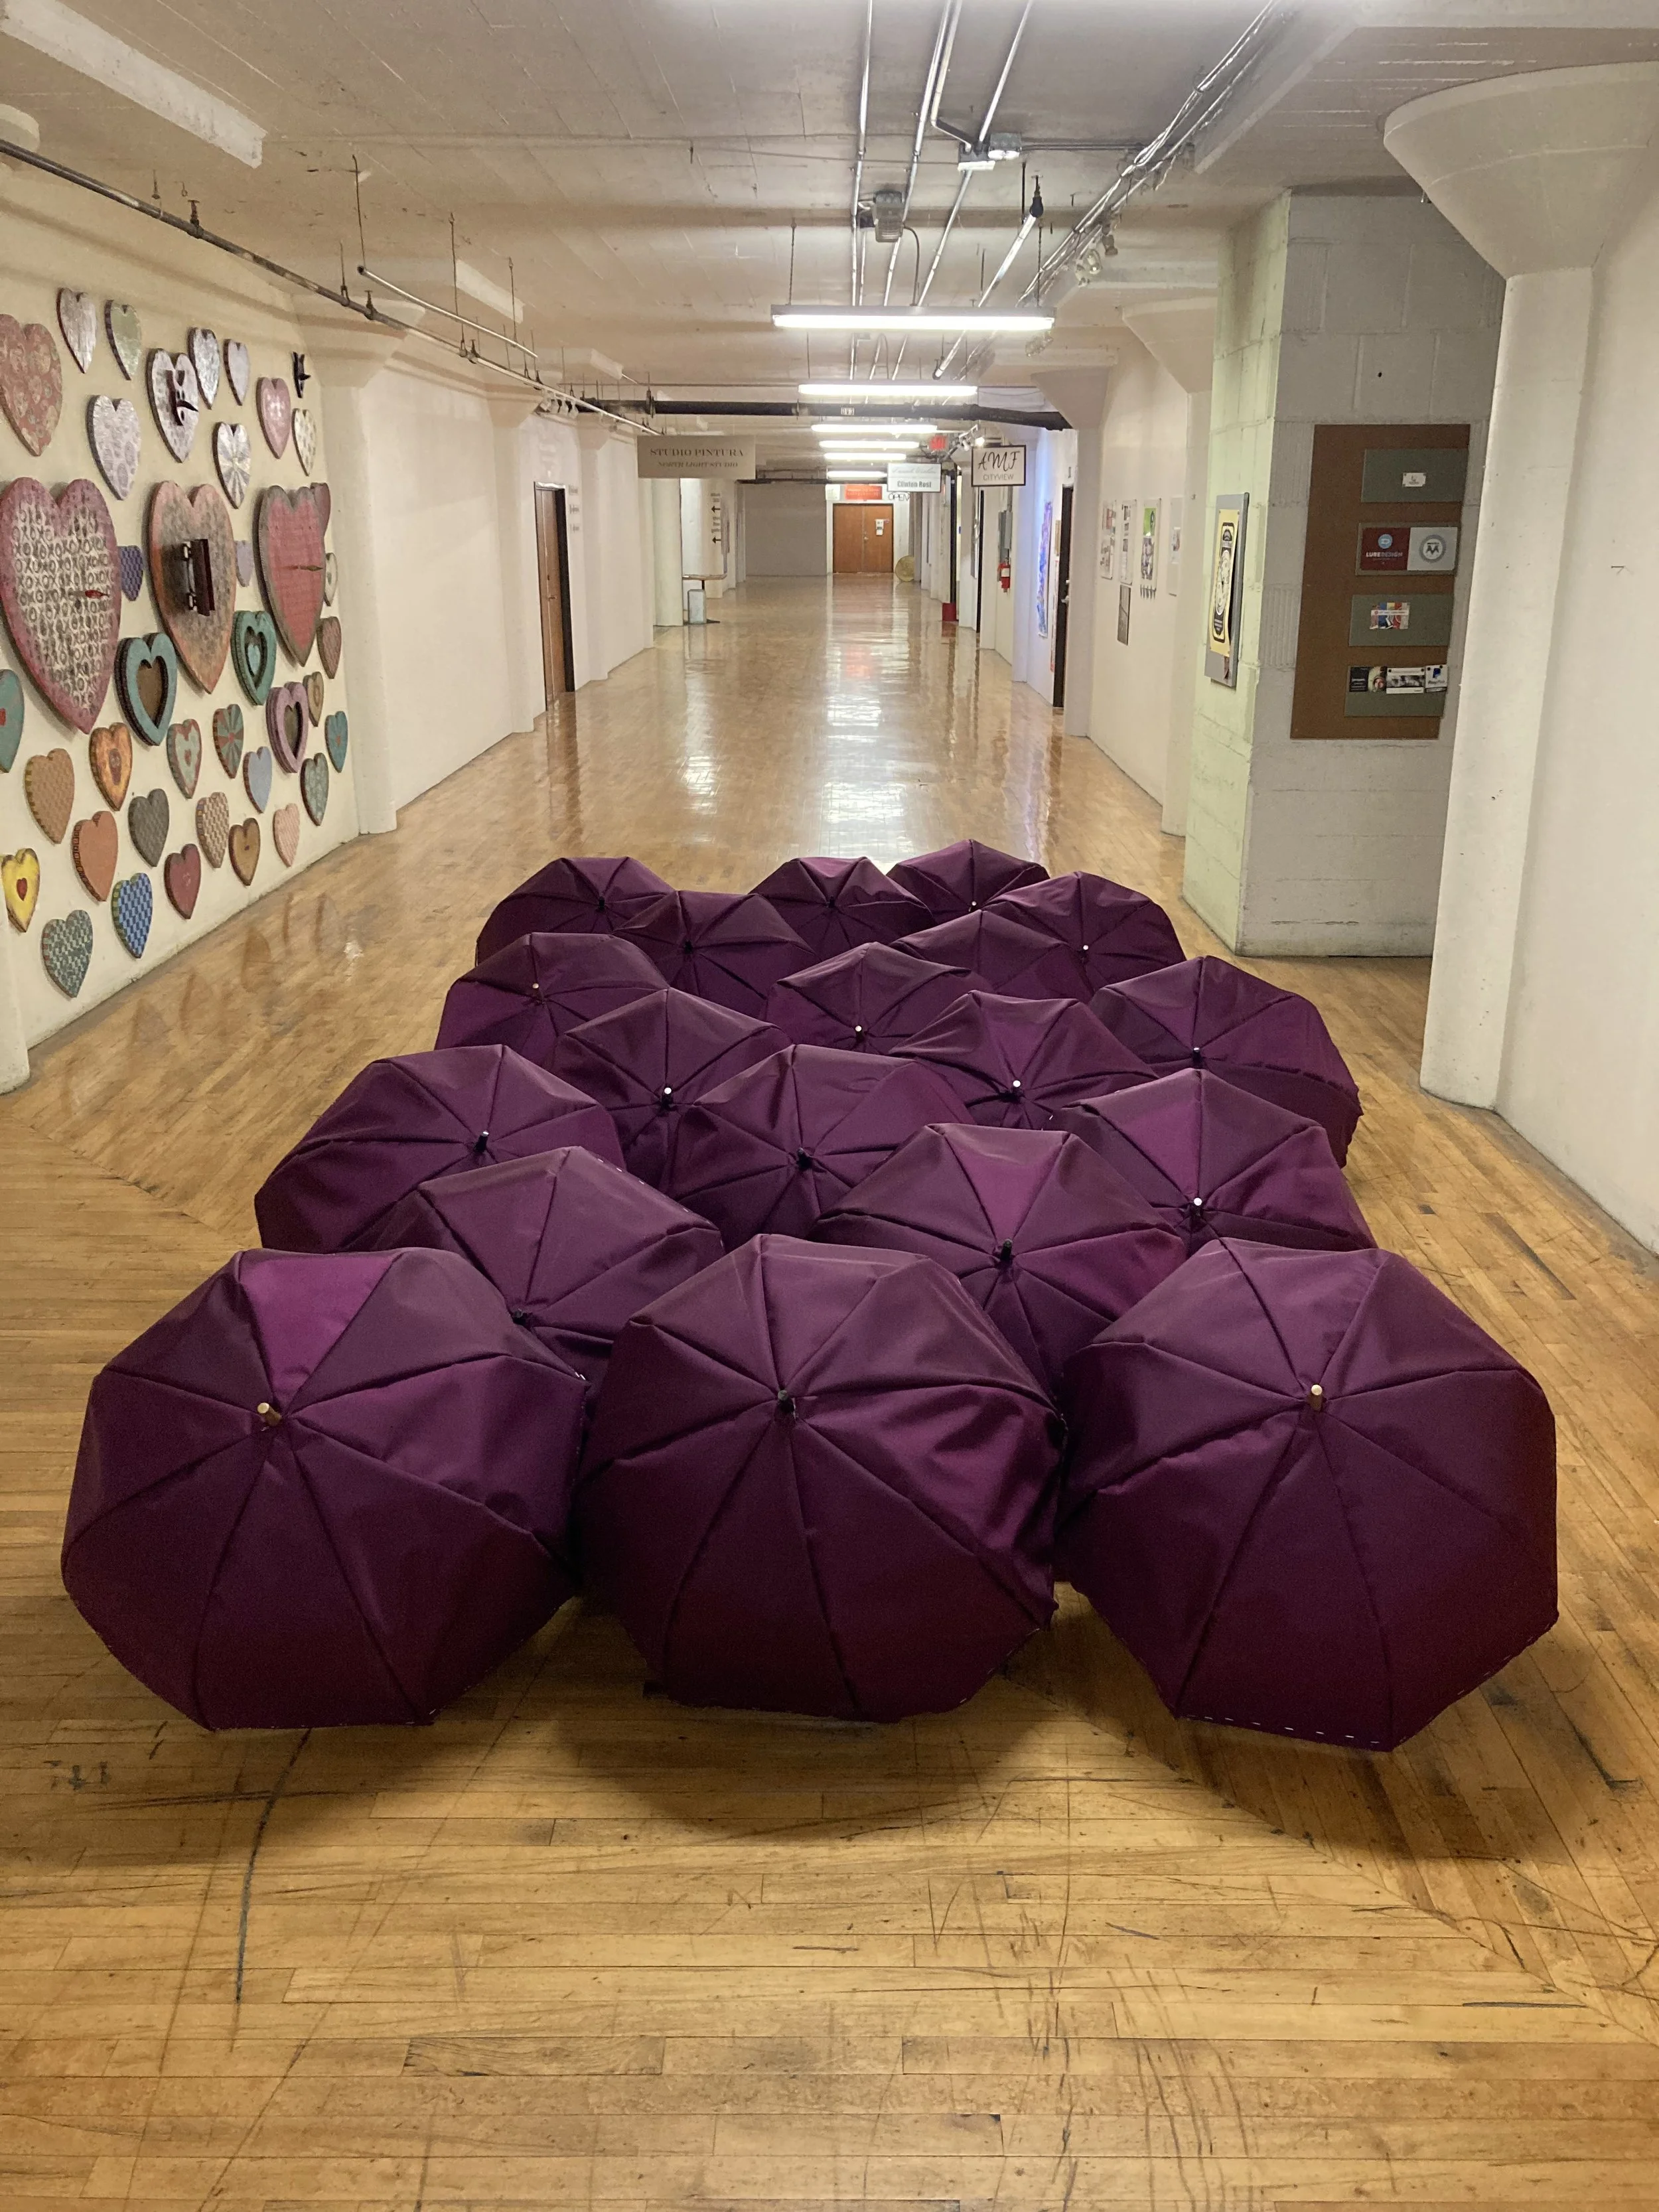
The Umbrella Project explores the umbrella as both a symbol of collective care and a tool for community protection. The project focuses on creating reinforced umbrellas made from durable materials, such as Cordura fabric, designed to offer an added layer of shielding in moments of civil unrest. These umbrellas reference widely recognized acts of collective defense, where everyday objects are adapted to help protect community members from the effects of flash bombs, pepper spray, and the impact of rubber bullets.
Rooted in solidarity and mutual aid, the project highlights how communities respond creatively and resourcefully when faced with harm. By transforming a familiar object into one associated with resistance and care, The Umbrella Project underscores the power of collective action and the importance of protecting one another in public space.
Open-Source Commitment:
The Umbrella Project is as an open-source resource, with instructions made publicly available (found below) so individuals and communities can independently create reinforced umbrellas for their own use and local contexts.
Share it. Teach it. Adapt it. This project belongs to everyone.
INSTRUCTIONS
Materials Needed
Fabric: ~Not sure on exact yards, but a healthy amount of Cordura fabric or similar water, tear, puncture-resistant material (It would be pretty badass to make one out of Kevlar if you have the means).
Strap: 18" of strap material, at least 1" wide
Note: the thicker the strap, the longer the length you may need
Umbrella: standard size, opens fully
Tape: gaff tape (1–2" wide)
Clips: quilting clips recommended (do not use pins)
Thread: heavy-duty polyester
Sewing machine
Step 2: Cut Fabric
Cut 8 triangles from fabric
Keep track of right (shiny) vs wrong sides
Step 3: Sew the Cover Panels Together
Place two triangles shiny sides together.
Align long side edges.
Small top edges together
Large bottom edges together
Sew one long edge only
¼" seam allowance
Straight stitch
Add the next triangle to the open long edge.
Repeat until all 8 triangles are connected.
Sew the final long edge (triangle #1 to #8).
You should now have a lampshade shape:
Small hole at the top
Large hole at the bottom
❗ If it looks like a cylinder, seams are incorrect — redo.
Step 4: Attach Cover to Umbrella
Turn the cover right side out.
Place it over the open umbrella, shiny side facing out.
Align fabric seams with umbrella ribs.
Fold the bottom edge under the umbrella edge, pulling snug toward the inside.
Clip in place:
Start with opposite sides to evenly distribute fabric.
From the inside of the umbrella, sew around the edge:
~½" seam allowance
Fabric should sandwich the umbrella edge
Avoid sewing over ribs
Backstitch at the beginning and end.
Continue sewing section to section without cutting thread if possible.
Repeat for all 8 sections.
Step 5: Add a New Strap
Since the original strap is sewn over, add a replacement.
Melt or hem strap ends to prevent fraying.
Fold strap in half and mark the center.
On the outside of the umbrella:
Mark a spot 3–4" from a rib
6–8" up from the bottom edge
Pin the center of strap to this spot.
From the inside, pin ~2" on either side of center.
Remove center pin.
Sew from the inside using:
Short stitch length
Wide zigzag or box-X stitch
At least 1" attachment area
Backstitch thoroughly.
Optional: stitch the entire strap area for extra reinforcement.
Step 6: Seal the Top with Tape
Open the umbrella fully.
Identify gaps between the fabric cover and the umbrella’s top point.
Apply 1–2" gaffer tape to seal these gaps.
If there is a pointed tip, tape around and over it securely.
⚠️ Important:
Apply tape only while the umbrella is open
Taping while closed can prevent opening or cause tape failure
Finished
The umbrella should:
Open and close smoothly
Have a taut, lampshade-like cover
Feel balanced with a secure strap and sealed top
Cut 8 triangles from fabric
Keep track of right (shiny) vs wrong sides
Step 1: Create the Pattern - Custom Fit (Recommended for Accuracy)
Because umbrellas differ, making a custom template is best.
Open the umbrella fully.
Lay a large piece of paper over the top.
Tape the paper down gently.
Trace the shape between two umbrella ribs.
Remove the paper, flatten it, and smooth the lines.
Cut this shape out using cardboard/paper — this is your template.
Use the template to cut 8 identical fabric pieces or specific amount to your umbrella